

For starters, everything I write about down below involves electricity. Working with electricity is dangerous. Do this at your own risk!!!
MK2a 300×200
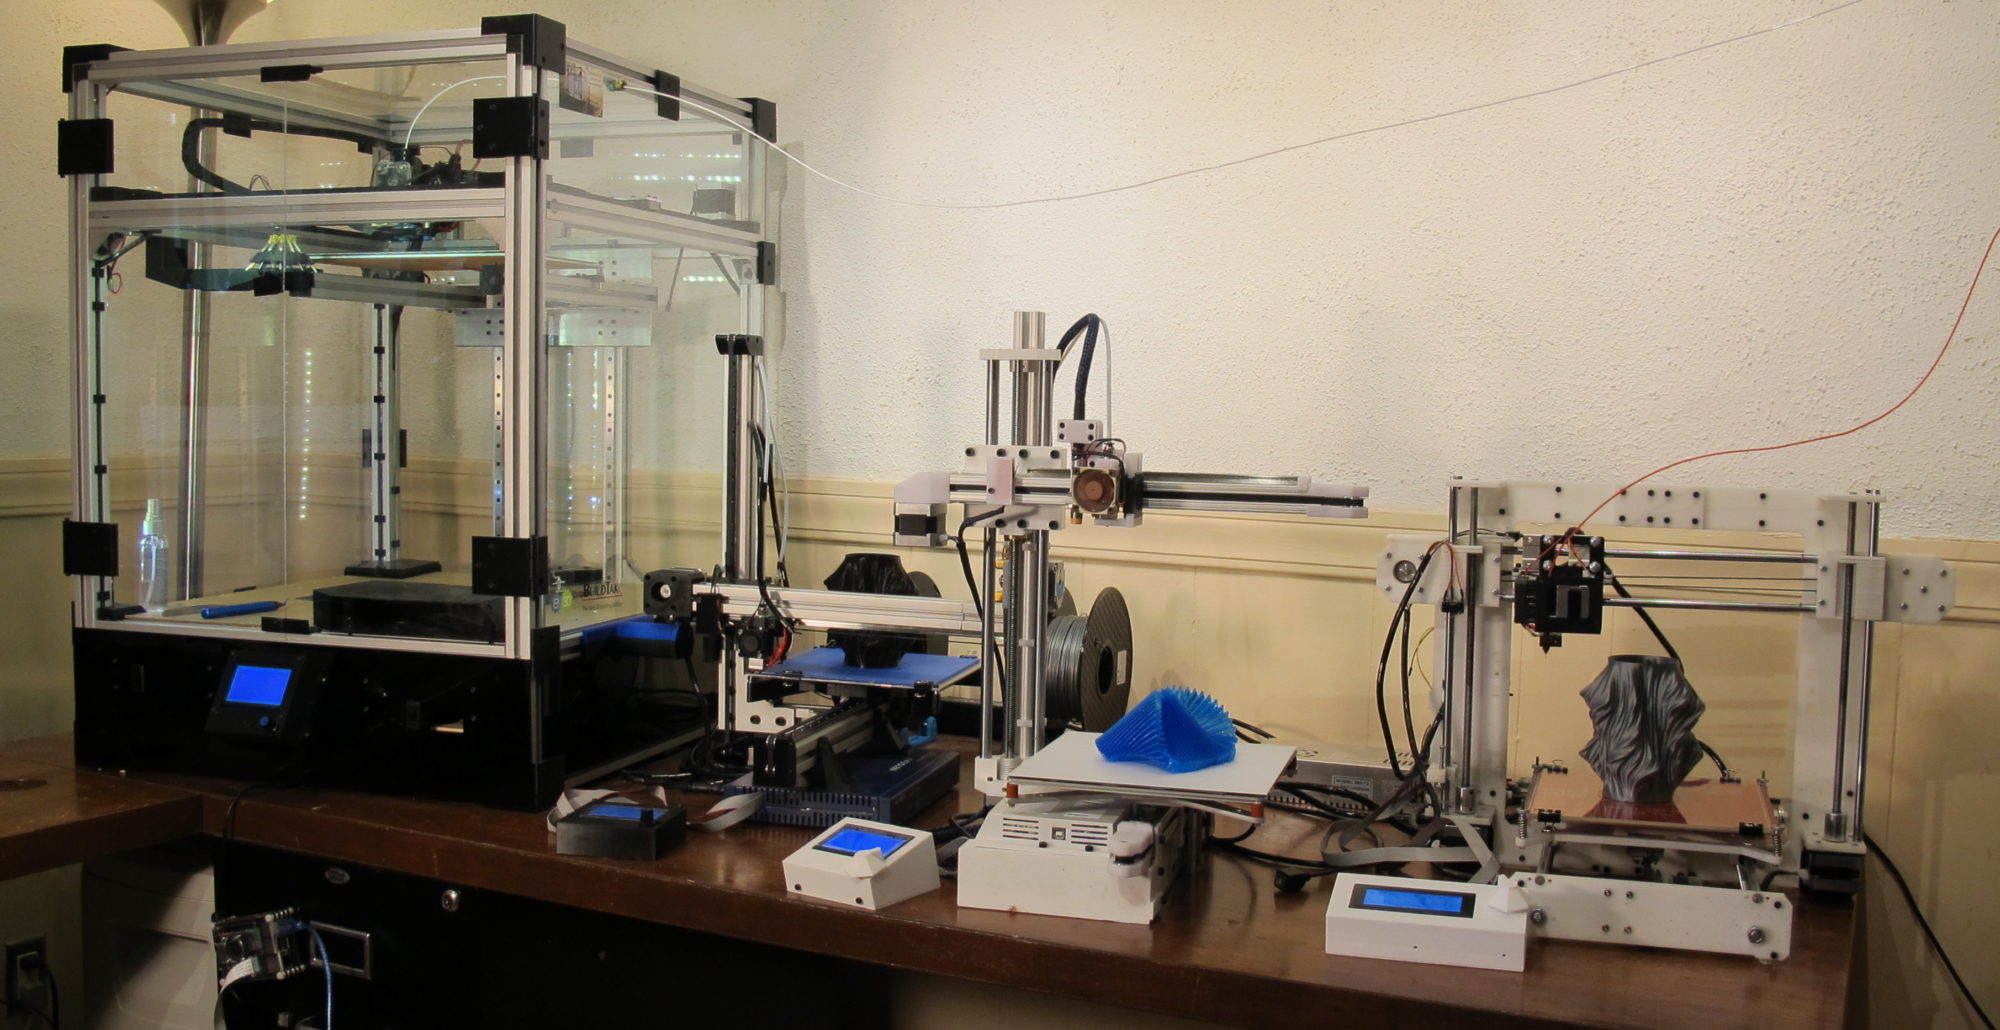
Haha, first blog post about my brand new printer and I’m already upgrading, that’s what happens as you learn as you go. The first implementation for the heated bed on my Core3D printer was a “standard” 200x300mm MK2A bed with Borosilicate Glass, purchased on Ebay. It worked fine for PLA but the intent of the Core3D printer was to print with ABS and if possible with a bed temperature of 110 C (still experimenting on whether that is the best temperature).

The original bed took 12 minutes to get to 60C and I never even tried to get to 110C. It pretty much maxed out at 78 (even inside closed chamber). 12 volts for a 200x300mm bed simply does not seem to do it.
Faster hot and hotter
I needed faster and better heating so I decided to install a 110 volt heated bed. I figured it would get hotter and it would get hotter faster. It worked out. It gets HOT and it gets hot FAST (See video below).
The other thing I recently changed was from a fixes Z-endstop to Auto Bed Leveling. The “old” Boro glass would not do for Auto bed leveling as it requires metal to detect so a new aluminum bed it was.


For the aluminum bed, I chose the RepRap Champion 300x200mm Aluminum Heated Bed Build Plate 3D Printer RepRap Prusa i3 Upgrade Kit from Amazon.com.
For the heater I got the 200 X 300mm (8 ” x 12″ approx.) 110V 600W, with 3M PSA & NTC 100K thermistor, KEENOVO Silicone Heater Mat/Pad,3D Printer HeatBed


Pretty sure it came from China as it took over 2 weeks to arrive.
Since the Core3D currently uses RAMP 1.4 and the board puts out 12 volts for the bed, I also needed something to allow for the 110Volt bed so for that I installed a Solid State Relay. For this I got the uxcell SSR-25 DA 25A 3-32V DC / 24-380V AC Solid State Relay + Heat Sink

Wiring the new bed
The wiring is fairly simple, yet a little intimidating. Practically everything on the Core3D (except for a chamber heater) is running at 12 Volt. It does not hurt when you touch the wrong wire running 12 Volts. 110 Volt DOES hurt. be careful. If you’re in Europe: 220 Volt HURTS EVEN MORE!!
I’ll be honest even now that it is all wired up, I have every intention to have someone with an electric engineering degree to look things over. When soldering some wire (printer was turned off but plugged in) I got a nasty zap when the solder iron touched the load wire. It shouldn’t have. To date I’m not sure it’s the printer or the solder iron that is defective (more on this later).

Applying the silicon heater to the bed
Be warned, I screwed up on this one (somewhat). The silicon heater I got came with the factory applied adhesive backing. First, clean off the surface to which you will apply the silicone heater. Make sure there is no dirt or grease on the plate. Next peel off the adhesive backing paper partially. It’s suggested you start at the opposite site from the wiring. You’re supposed to do this at an angle, possible with a roller of some sort.
WARNING: YOU ONLY GET ONE CHANCE!!!
I followed the instruction but was so focused on making sure there were no bubbles, I lost track of the alignment. My bed ended up somewhat crooked on on the aluminum bed. I was lucky it stayed within the bounds of the screw holes, but I didn’t miss them by much. You really only get one chance. I tried slowly backing out but the adhesive started separating from the silicone. I quickly back off from that. Everything, I’ve read seems to indicate that once you loosen the silicone, you’ll need to remove all glue and apply new one of your own. A messy procedure to say the least.
Am I happy?
Yes, I am. I love the aluminum bed and the fact that it allows me to use Auto Bed Leveling. The silicone pad looks fine, even though it got on a little crooked and it heats fast and gets hot. As a matter of fact the bed now heats faster than the hot-end.


The bed heats up from 20C to 110C in 1:27 minutes (see video below at 4x speed). My old bed never made it past 78C and that took at least 15 minutes.
video is running at 4x speed
We’re not done yet
It’s been stated elsewhere that using the thin aluminum bed is not the best medium for this type of heater. It tends to warp as you heat it. I have not noticed this yet but it might be that the auto leveling is compensating for it.
What I definitely miss is the glass plate I can remove, treat and handle externally from the printer. For this reason I’ve ordered a second aluminum bed that I can lay on top (using the old paper clips). Once I get it, I’ll need to figure out if simply laying it on top will suffice or if warping of the bottom plate prevents proper contact. I’ll keep you posted on that.
Please note: I’m an affiliate to several vendors. Some of the products above link to the actual items from the vendors I purchased from. Do me a favor and use these links to purchase your items, I get a little kick back. Building 3D printers costs money.
