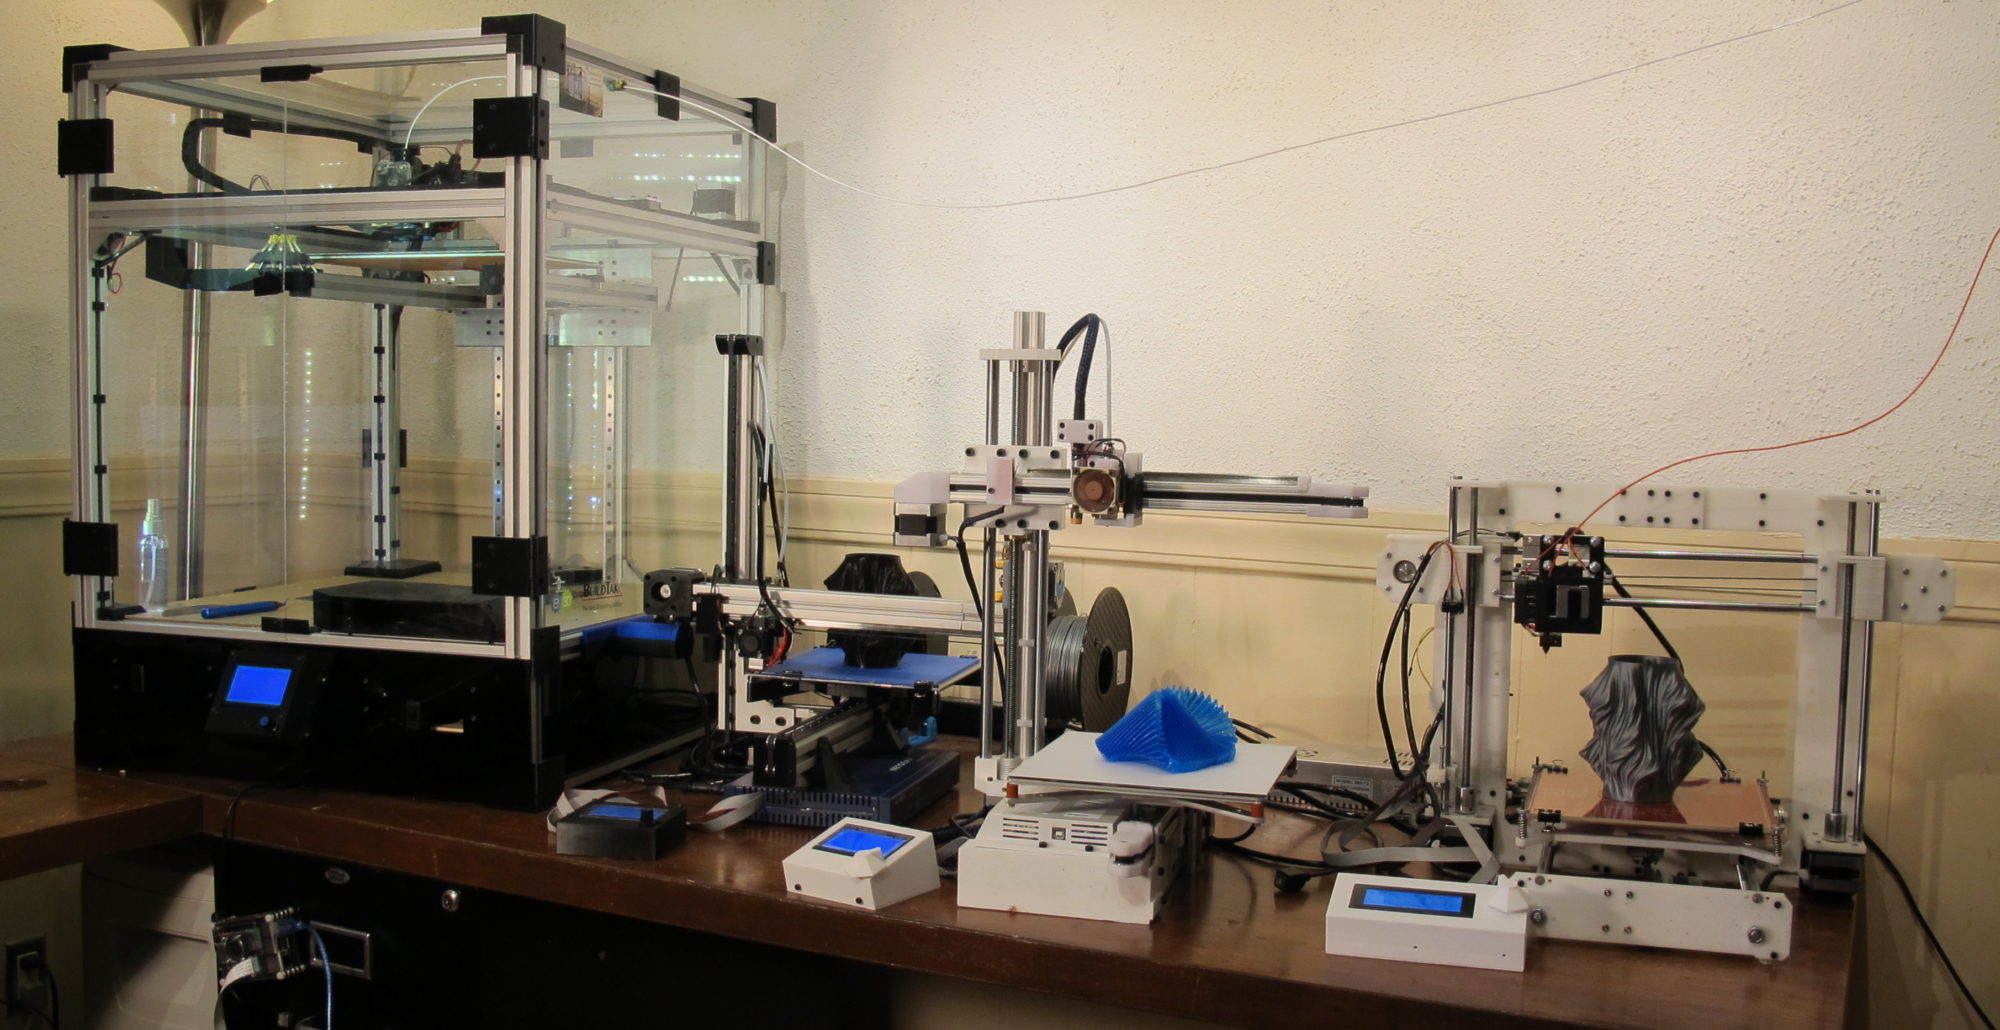
Since I’ve not futzed around with this issue for the last 12 hours, I’m thinking it maybe worth writing it up.
I’ve started printing with PETG recently as I’m getting sick and tired (sick from the smell, tired from the warping) printing ABS. PETG is a good alternative to
ABS as it has the best of PLA and ABS (no smell/no warping with some of the ABS strength and temperature tolerance).
I’ve tried different brands (Total Pack/HatchBox and now eSun). All three create the same phenomenon as seen above. Strange warping of the second layer.
One sure way of solving it: While the print is going move the bed one quarter turn of the bed screws closer to the head.
What Does that tell me. Well it seems like the nozzle is to far from the last printed layer.
Note: this happens in Slic3r and not with Cura, but Cura is giving me other headaches so I want this to work with Slic3r.
My solution: change the z-offset so that the first layer is not “smashed” and should be closer to the second layer. Oddly enough that didn’t solve anything. I set the offset to 0.2 so when the first layer is dropped it literally is dropped from 0.5mm.
This does wonders for the bed adhesion. I can finally remove my parts from the BuildTak without ripping either to shreds but the second layer keeps failing.
So on a quest to find the answer I started making different tests prints each with a varied parameters.
First look at different offsets:
- 0.2mm (nozzle higher): Fail
- 0.1mm: fail
- 0mm: fail
Next I started looking at temperatures:
- 245/245: fail
- 235/235: fail
- 235/230: fail
- 265/265: fail
Up or down, it didn’t really matter. The problem persisted. But, as my samples started adding up, I did some measurements and the first layer of each of my print landed around 0.4mm.
I do not know why, I’m pretty sure my Z-axis is calibrating well but that made me rethink the offset again. What if I went the other way. Reduce the distance between nozzle and bed and the first layer should change in thickness. So changing the offset again:
- -0.1mm: fail but is set in a little later
- -0.15mm: improvement
- -0.2mm: better
One little problem, as I keep getting closer to the bed it becomes harder to remove the print. PETG has a tendency to “fuse” to the Builtak. I learned this the hard way with my first prints on my Buildtak that ripped a hole trying to remove one of my pieces.
So what if I lower the extrusion of the first layer. That should make for less pressure. So the next parameter was the Print Settings: Advanced: First Layer. It was currently at 200%. Peculiarly high, but I’m working towards that.
down to
110%: Not much change to the second layer but a pattern appeared on the first layer. Something I’ve struggled with before and managed to fix by upping the First Layer extrusion width.
100%: Fail. This time the first layer showed the same warping as seen on the second layer prior. 
And this is when a light bulb went off. If setting the Extrusion width for the first layer to 200% fixed it’s issue, why not do the same for the Solid layers (The ones that fail).
Bingo, With Print Settings:Advanced:Solid set to 190% the problem seemed fixed.
So, unfortunately I don’t have an answer for why when slicing with Slic3r I need to set both First Layer width and Solid Layer width, as high as I have to. It does explain why it happens with Slic3r and not Cura as each tool deals with line width entirely differently.
The latest print did a great first line and a great second line. I’ve been able to back up from the plate a bit making removal from BuildTak much easier.
Let me know if you have any ideas or luck with this solution.


Thanks for this post!! I have been experiencing the same problems on my MK3 for so long I gave up with PET. I received some free PET and wanted to try it again and was immediately reminded why I hated it. Not sure if your post has helped anyone else, but I had done all the things you had except changing the solid layer infill. I changed it and the print came out beautifully right away. Thank you so much!
Glad it helped. It’s easy for many to say “it’s all about the first layer” I believe there’s something more to it. whether it’s filament or mechanics. This helped me and I’m glad I can help others
All setting please, your info Just advance setting
layer height 0.3mm
Speed 50mm/s
First layer 25mm/sec
Solid infill 25mm/sec
Other settings would have no impact on this issue and are either preferential or specific to this printer.
Hi! I had the the same problem and it was driving me mad! Tried so many different settings in the slicer. Setting solid infill and top solid infill to 200% fixed it! Thank you so much 🙂